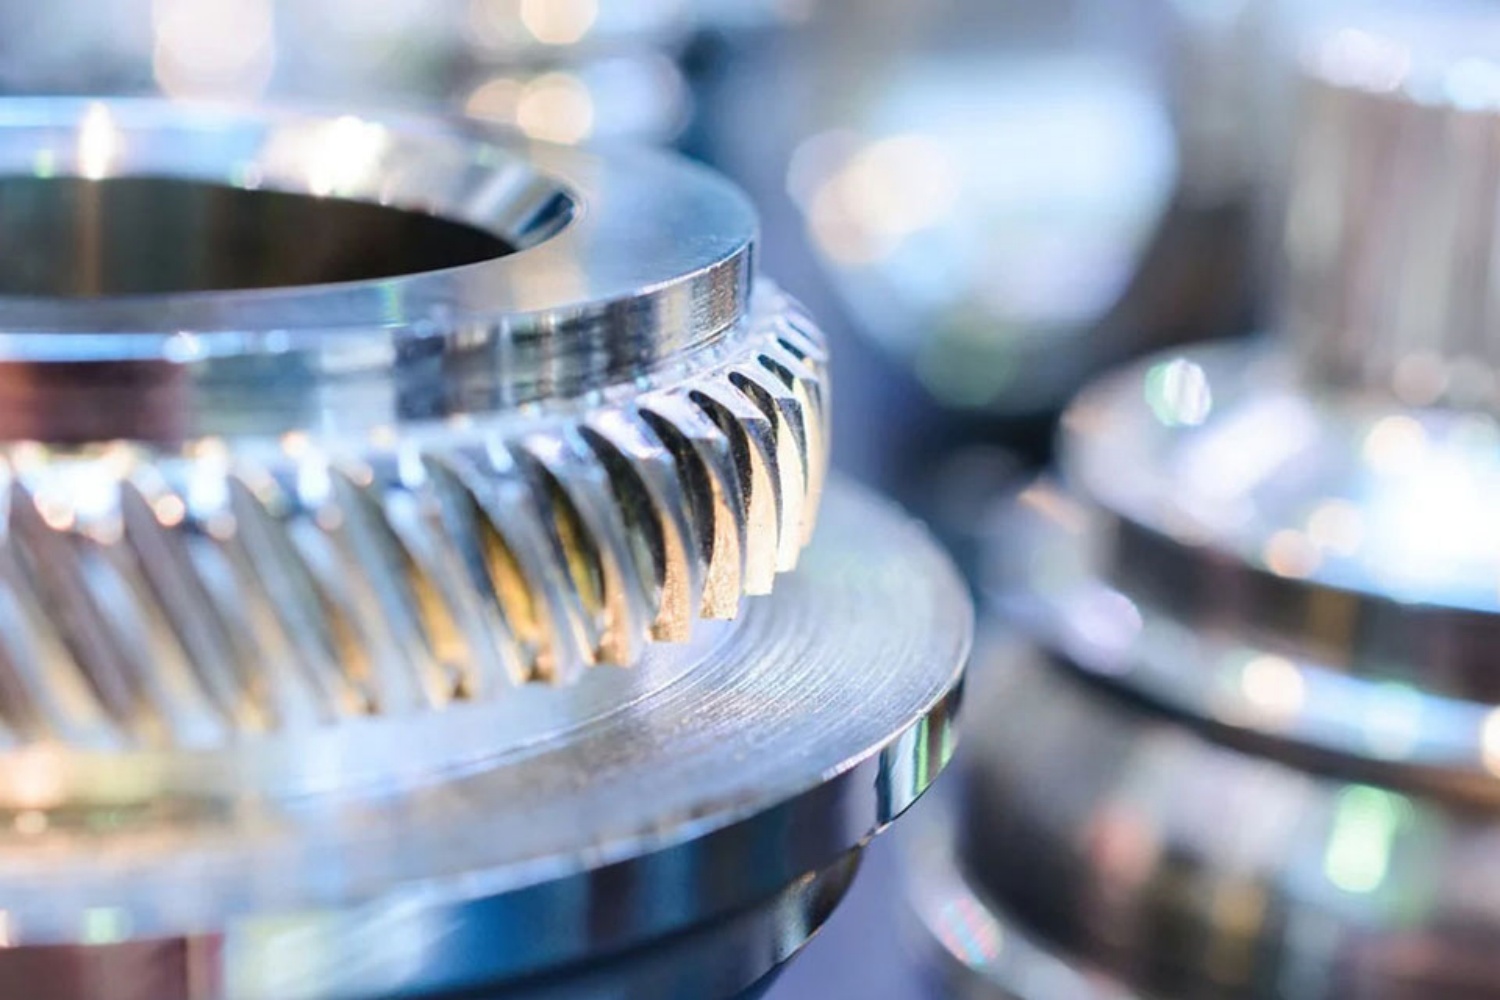
As an integral component of power transmission, bushings can enable flexible drive systems. A simple system for installing and removing bushings allows us to quickly change sprockets, pulleys and pulleys (among other things) from one shaft size to another, furthermore, it also allows us to make modifications quickly and efficiently. Some special bushings can even accommodate splined or keyless shafts.
Proper installation of the bushing affects all other components within the drive, whether through regular maintenance or replacement of its companion product. Improper installation can result in excessive vibration, increased runout, or breakage of mating components, inevitably damaging the components and the shaft they engage. At this point, the increased downtime, and – if the mating shaft is damaged – larger and more expensive problems can arise.
Proper bushing installation steps:
1.Insert the bushing into the assembly hub and align the non-threaded holes of the bushing with the corresponding threaded holes. The threaded holes on the bushing will be used during disassembly. QD bushings can be installed in two ways, standard or reverse.
2.Loosen the assembly by threading the bolts through the non-threaded holes of the bushing and then hand-tightening the corresponding bolts.
3.Fit the key to the shaft and install the assembly as required. Once the final drive alignment is complete, tighten the set screw on the key to hold it in place.
4.Gradually and alternately tighten the bolts until the specified torque value is reached. This incremental tightening allows the bushing to seat correctly and straightly.
Bush removal:
The first step in disassembly is to loosen and remove any screws or bolts from the assembly. Once separated, screw them into the removal holes of the bushing, afterwards, alternate tighten to remove bushing. Place a wedge between the bushing flange and the assembly hub, when the QD or split bushing is difficult to remove.
Common errors during installation
The bushing hardware is overtightened. As mentioned above, by using a torque wrench, you can apply precise torque to fit the bushing exactly onto its mating part, otherwise, the possibility of over-torque is very large and might lead to failure.
Apply anti-seize or lubricant on mounting surfaces or hardware. Similar to over-torque, using either of them will cause the bushing to be positioned deeper within the mating part, with the result of increasing the stress on both parts.
Replace the split washer with a flat washer. Split washers allow snap-in fasteners and bushings, thus preventing bolts from backing out, but this function does not provide by flat washers.
The bushing hardware is not tightened incrementally. Instead of alternately tightening one bolt, fully tightening can cause the bushing to be inaccurately seated within the mating part. This misalignment will affect efficiency and damage any number of components.
CONTINUE READING
Related Posts

In mechanical drives, gears are essential for transmitting motion, power, and torque across various applications. Two of the most commonly [...]
-
In the world of industrial machinery, efficiency, precision, and reliability are essential. A key component in achieving these goals is [...]
-
In the world of industrial engineering, precision and innovation are essential to staying competitive and meeting the ever-growing demands of [...]