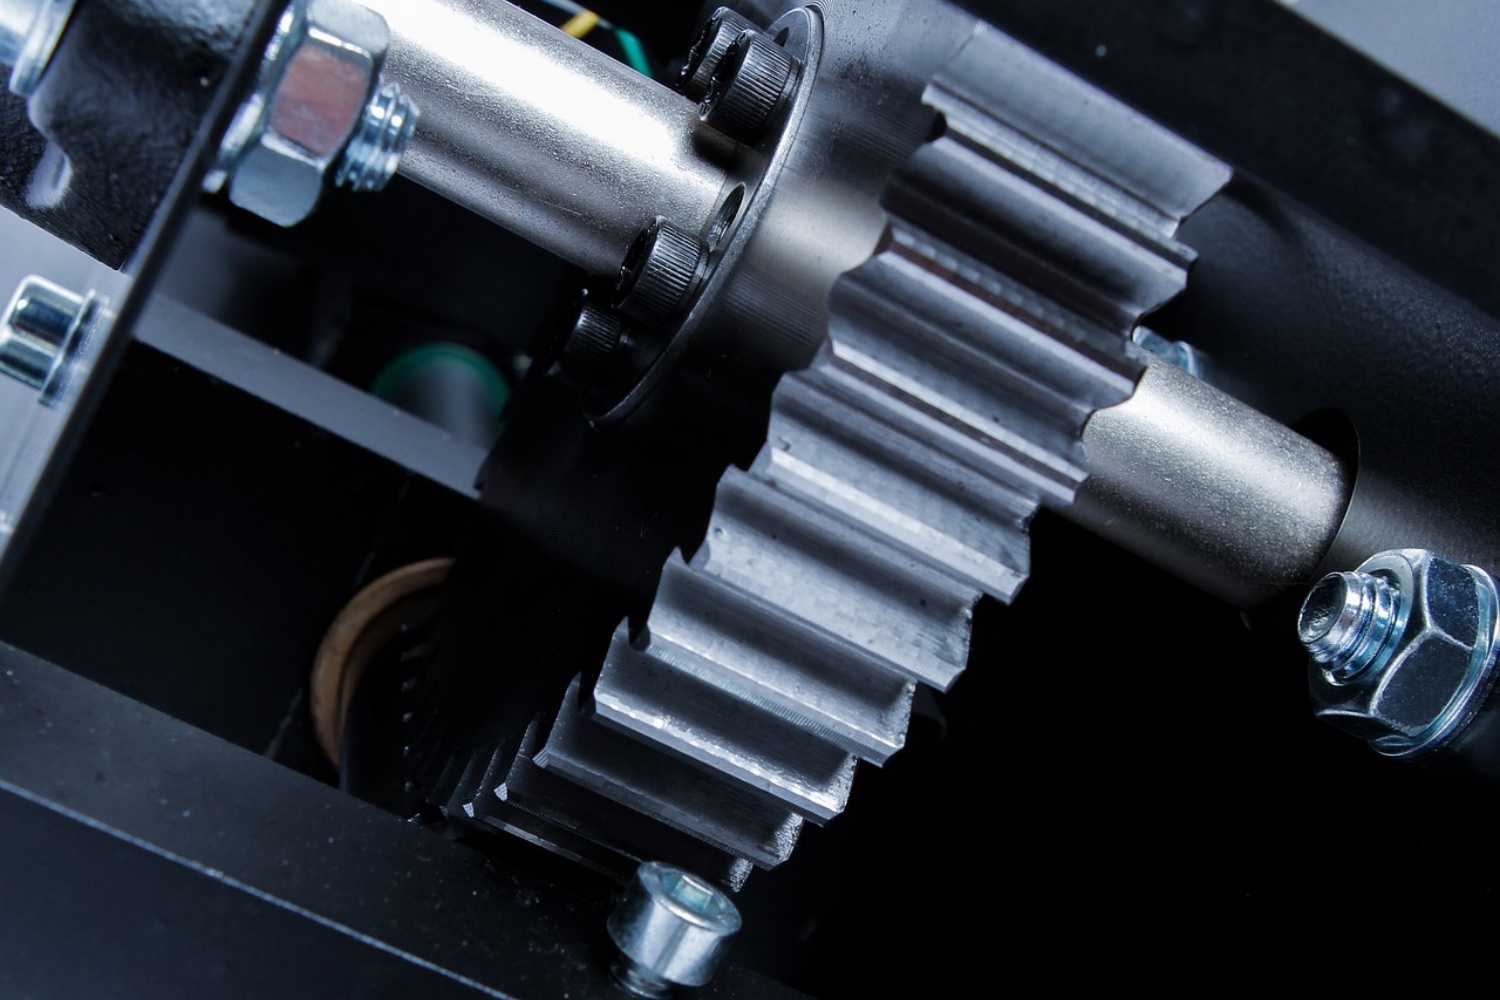
Pulleys are essential components of many machines and devices, particularly in the industrial and manufacturing sectors. They come in various types, shapes, and sizes, but their basic function is to transmit power and motion between two shafts. Installing a pulley on a motor shaft may seem like a simple task, but it requires careful attention to detail and the right tools and techniques to ensure a proper fit and alignment. In this article, we will provide a step-by-step guide on how to put a pulley on a motor shaft.
Step 1: Prepare the Motor and Pulley
Before you start putting the pulley on the motor shaft, make sure that both the motor and the pulley are clean and free from any debris, rust, or damage. You may need to use a wire brush, sandpaper, or a solvent to remove any dirt or corrosion on the surfaces. Also, check the dimensions and specifications of the motor shaft and the pulley to ensure compatibility and accuracy.
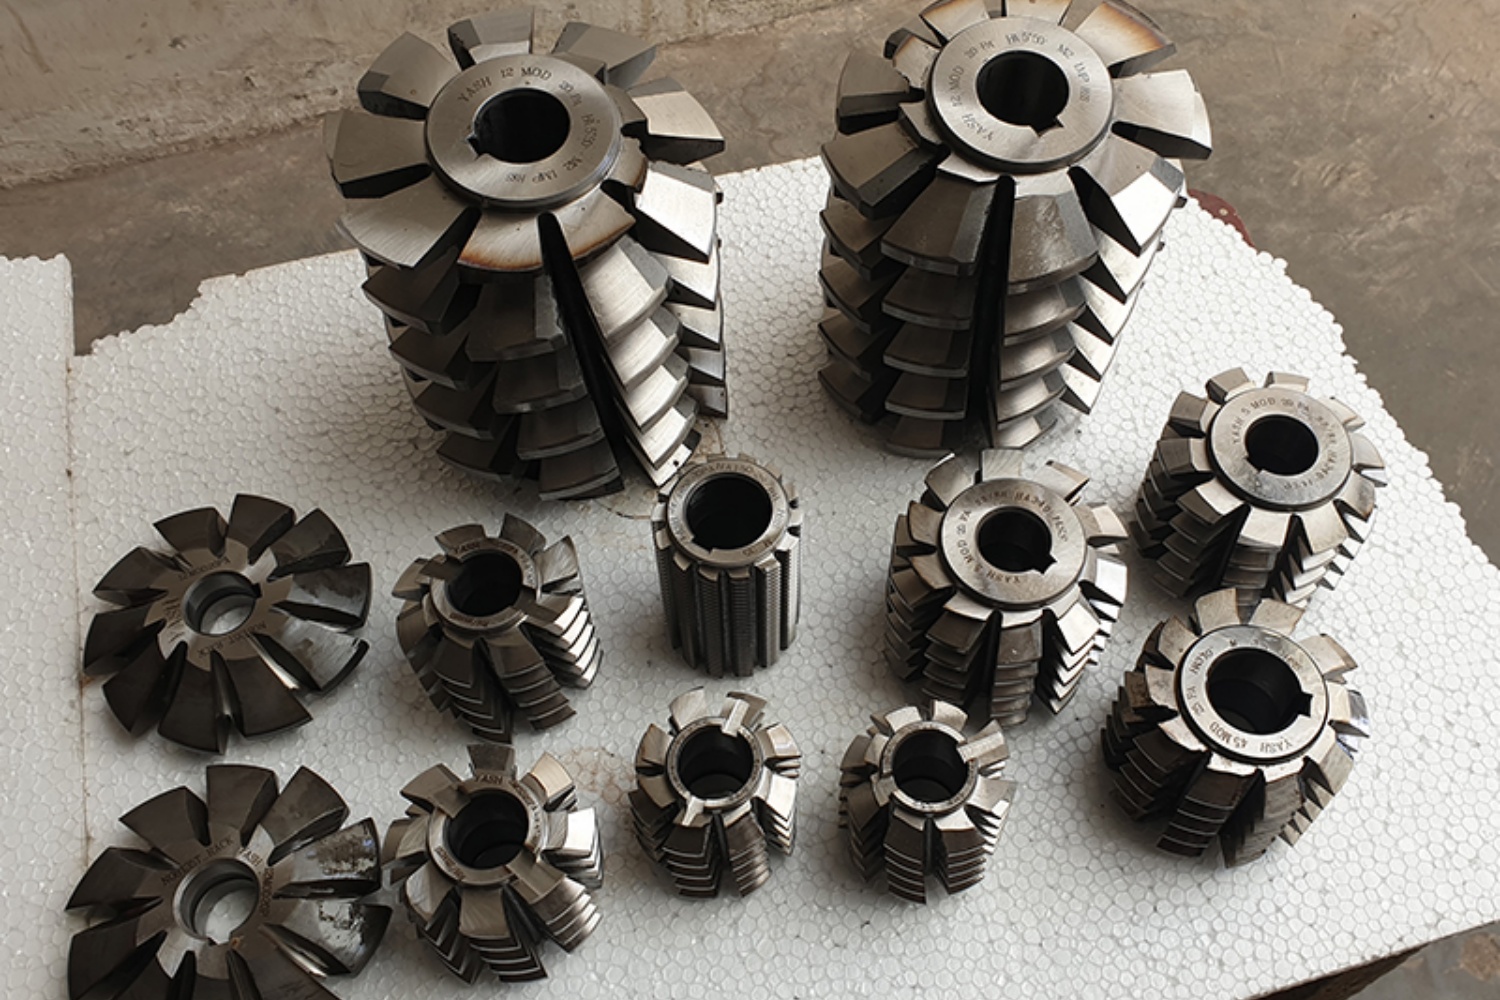
Selecting the appropriate pulley and keyway is critical to ensure a proper fit and alignment between the motor shaft and the pulley. The pulley should match the diameter and bore of the motor shaft, as well as the required speed and torque of the application. The keyway should also fit snugly into the keyseat on the shaft and the pulley hub, without any gaps or misalignments.
Step 3: Install the Key in the Shaft and Pulley
The key is a small metal piece that fits into the keyway on the motor shaft and the pulley hub to prevent any slippage or rotation between them. To install the key, place it in the keyway on the motor shaft, and then slide the pulley over it until it reaches the desired position. Make sure that the key is fully inserted and seated in the keyway, and that there is no excess or protruding portion.
Step 4: Tighten the Set Screw or Locking Device
Once the pulley is in place, you need to secure it firmly to the motor shaft using a set screw or a locking device. The set screw is a small screw that is threaded into a hole on the pulley hub and tightened against the flat surface of the motor shaft to create a frictional force. The locking device, on the other hand, is a mechanical component that clamps onto the motor shaft and the pulley hub using bolts, nuts, or a collar. Both methods are effective, but the locking device is more reliable and resistant to vibration and axial loads.
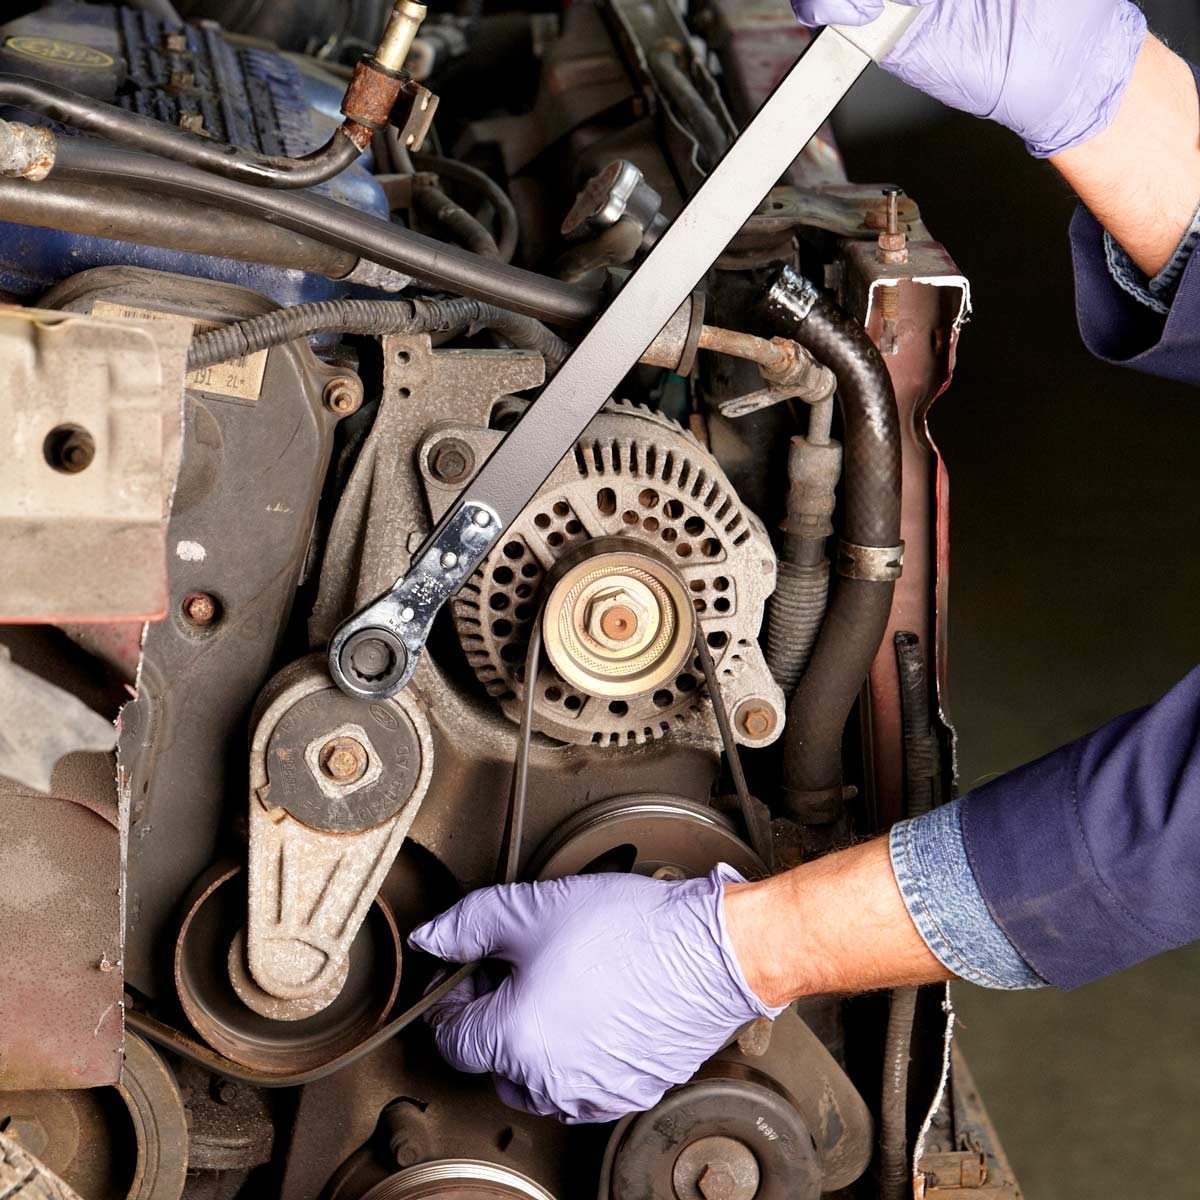
Step 5: Check the Alignment and Tension of the Belt
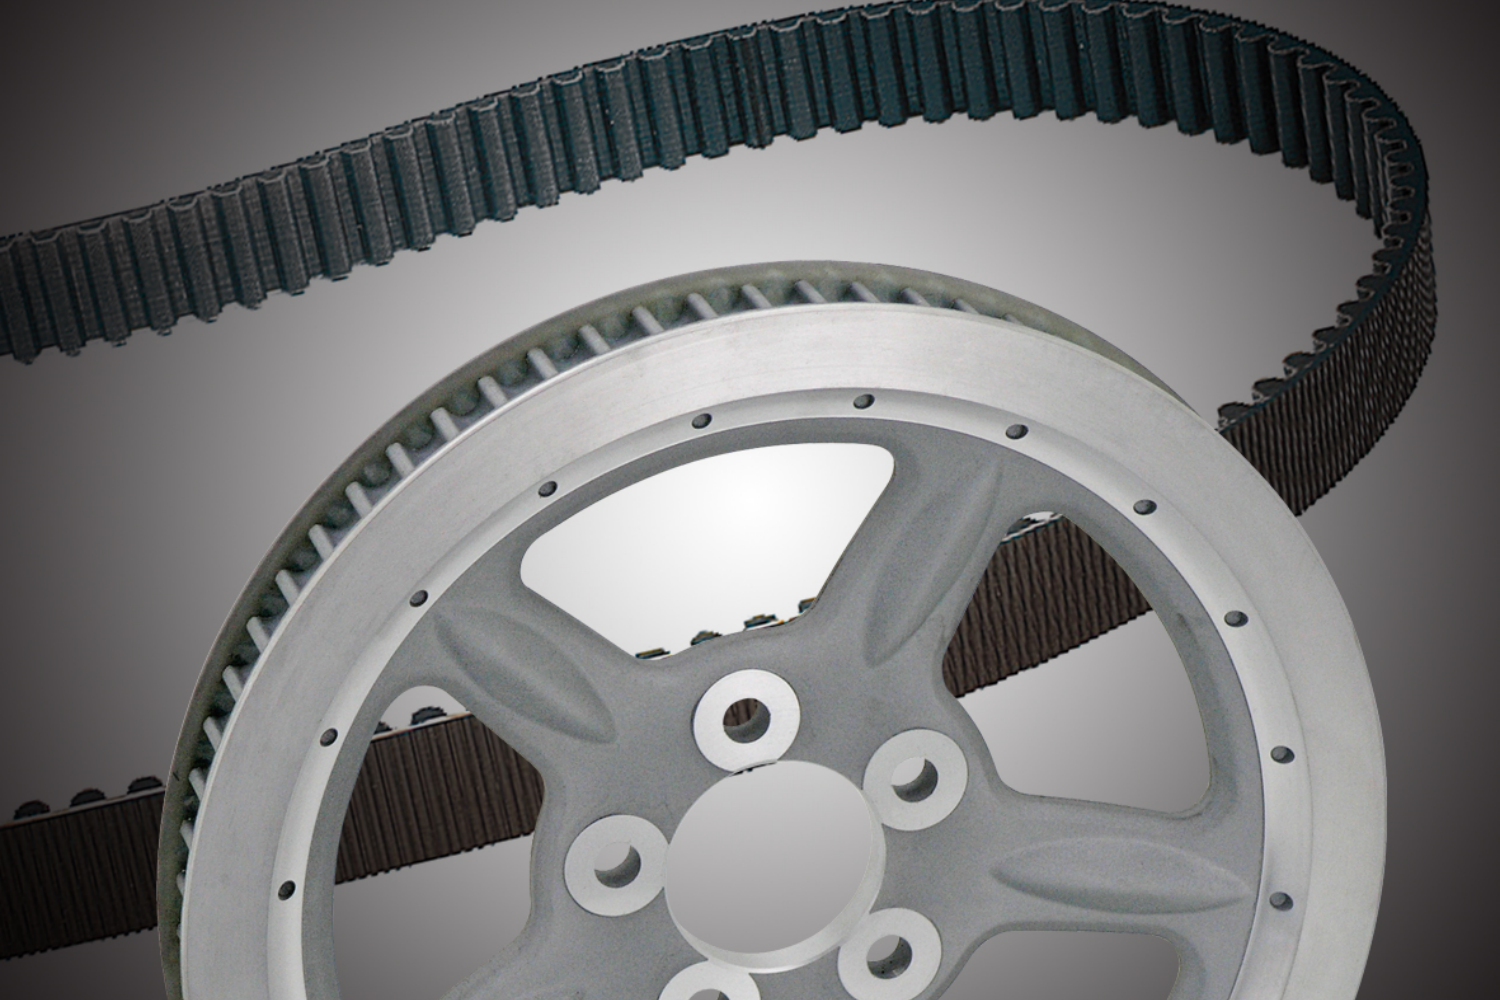
The final step is to check the alignment and tension of the belt that connects the motor and the pulley. The belt should run smoothly and evenly between the two pulleys, without any slippage or deviation. Also, the tension of the belt should be adjusted according to the manufacturer’s recommendations, using a tension gauge or a tensioning tool. Proper belt tension is essential to ensure optimal power transmission and to prevent premature wear or damage to the pulleys and the belt.
In conclusion, putting a pulley on a motor shaft may seem like a straightforward task, but it requires attention to detail and precision to ensure a proper fit and alignment. By following the steps outlined in this article, you can install a pulley on a motor shaft safely and effectively, and ensure the smooth and reliable operation of your machines and devices.
CONTINUE READING
Related Posts

In the world of industrial manufacturing, the efficiency and reliability of transmission systems are critical to the success of any [...]
-
In industrial settings, a smooth and quiet power transmission system is crucial for productivity, safety, and worker comfort. V Belt [...]
-
Splines play a critical role in mechanical power transmission systems, enabling rotational motion and torque transfer between mating components. These [...]