Pulleys are of great significance to industrial transmission, and in order to maintain high transmission efficiency of pulleys, besides their excellent quality, installation and maintenance are also very important. To help enterprises do a good job in maintenance, let’s take the SPA pulley as an example to describe how to complete the installation and disassembly of the pulley.
What is a SPA pulley?
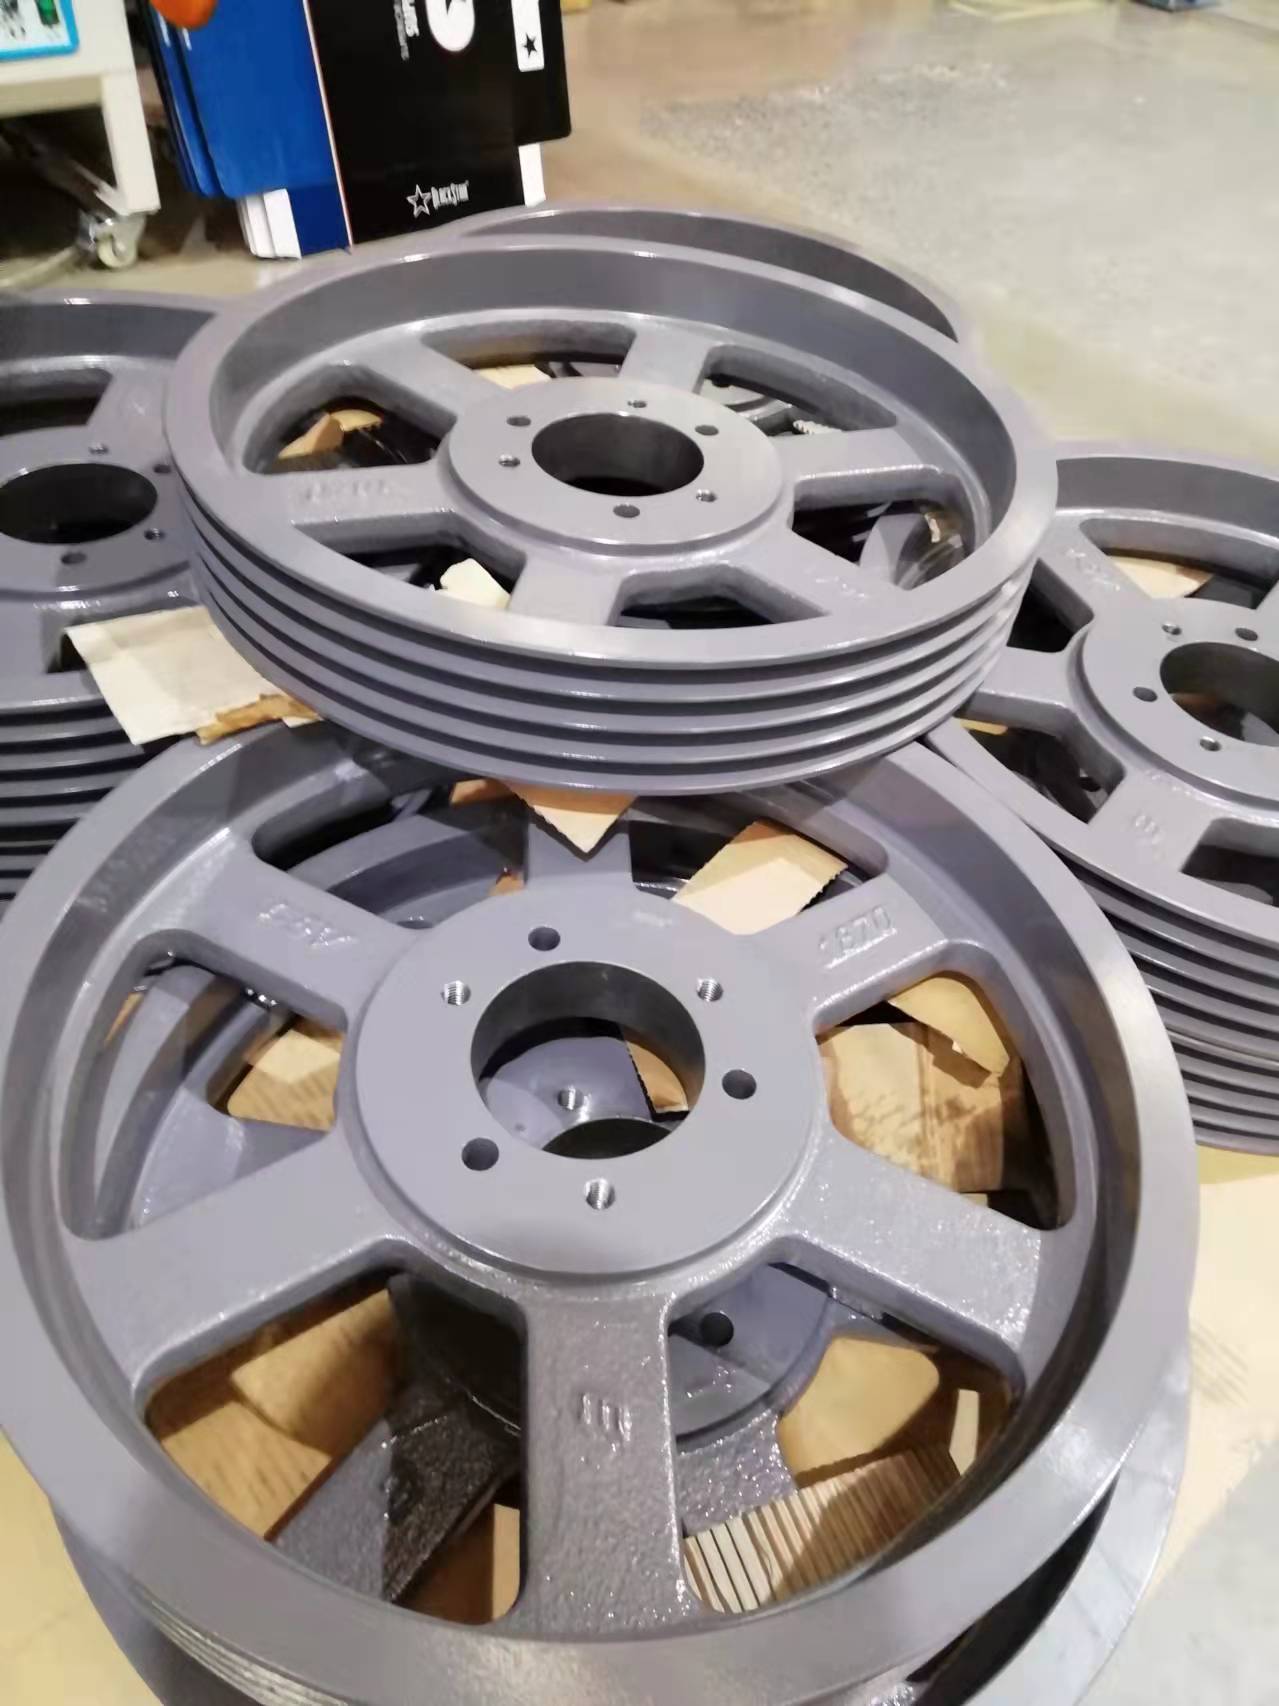
As a model of the European standard tapered sleeve pulley, the SPA pulley, like SPB, SPC and SPZ, is a more commonly used European standard pulley model. The size of the SPA pulley is not too big, ranking third among the four commonly used models, just before the SPZ pulley. And there are 6 grooves of the SPA pulleys to choose from, but with 1, 2, 3, and 4 grooves are commonly used, and 5 and 6 grooves are less used. Two models of SPB and SPC should be considered when pulleys with more groove types are required.
How is the V groov pulley installed?
The installation of the pulley is an important factor affecting the overall service life, which needs great carefullness from the enterprises. The following is a complete safety guide. As the two composed parts of the European standard pulley, the taper sleeve and the pulley also have a sequence during installation.
- Put the pulley on the motor shaft first, and put it aside, then use a screwdriver to slightly expand the clamping seam of the taper sleeve, insert the taper sleeve into the motor shaft, afterwards insert the key shaft into the corresponding keyway.
- Pull the pulley back, fitting with the tapered sleeve, and align the position of the screw holes. Please note that there are different installation methods for the pulleys with various diameters, and the screw will be with 3 or 5 holes.
- After the position of the screw holes are aligned one by one, screw in the screws, then start the motor after fixing all the screws. Stop the machine after running for 1 to 3 minutes at low speed, and tighten the screws again to complete the pulley installation.
Installation reminder: when there are 3 screw holes, the holes corresponding to the clamping seam are disassembly holes, no need to screw in the screws; and among the 5 screw holes, the 2 screw holes that form an equilateral triangle with the clamping seam are disassembly holes, no need to screw in screw either.
How to remove the V groove pulley?
The removal of European standard pulleys is simpler than that of national standard and American standard pulleys. Prepare an Allen wrench and a rubber hammer, also a puller for larger pulleys.
- Unscrew all the screws on the mounting holes
- Take 1-2 screws and screw them into the disassembly holes. If it is difficult to screw in, then add lubricating oil or gently tap the surface of the pulley with a rubber hammer to separate the pulley from the taper sleeve
- Push the pulley out after separation, and then disassemble the taper sleeve
- Twist in the clamping seam with a screwdriver, and remove the taper sleeve after it becomes loose.
CONTINUE READING
Related Posts

In mechanical drives, gears are essential for transmitting motion, power, and torque across various applications. Two of the most commonly [...]
-
In the world of industrial machinery, efficiency, precision, and reliability are essential. A key component in achieving these goals is [...]
-
In the world of industrial engineering, precision and innovation are essential to staying competitive and meeting the ever-growing demands of [...]